Understanding Heat Pump Systems

Heat pumps are a versatile HVAC system, capable of both heating and cooling spaces. They operate by transferring heat from one place to another rather than generating it directly. Energy efficiency is a significant benefit, as heat pumps move heat rather than create it, often resulting in lower energy use.
Types of Heat Pump Systems
- Air-source Heat Pumps: The most common type, which transfer heat between your house and the outside air.
- Geothermal Heat Pumps: Also known as ground-source heat pumps, which exchange heat with the ground.
- Ductless Mini-Splits: Ideal for homes without ductwork, these systems have an outdoor unit linked to an indoor air handler.
Components
- Outdoor Unit: Contains a compressor, condenser coil, and fan.
- Indoor Unit: Either part of your ductwork for traditional heat pumps or wall-mounted for ductless systems.
- Refrigerant: Circulates between the indoor and outdoor units, absorbing and releasing heat.
Efficiency Considerations
We recommend opting for a high-efficiency heat pump if you’re seeking to maximize energy savings. The initial cost may be higher, but the long-term savings on energy bills and the positive impact on the environment can be substantial.
Climate Impact
Heat pumps are most efficient in moderate climates; however, with advancements in technology, many systems can now handle colder temperatures effectively. If you live in an area with extreme weather, we suggest consulting with a professional to ensure a heat pump system is right for you.
Preparing for Installation
Before we embark on the installation process, it’s crucial to ensure that everything is in place for a smooth transition. We’ll cover the essentials of site evaluation and grasping the installation requirements.
Site Evaluation and Selection
When we select the location for a heat pump, we look for a site that provides optimal functioning and minimal disruption to the household. During the site visit, our experienced energy advisor conducts a thorough assessment to determine the best position for the heat pump. We pay close attention to areas near doors and windows to minimize potential heat loss. Proper insulation is also a key factor we consider during the site evaluation to ensure maximum efficiency post-installation.
- Perform a detailed site assessment.
- Check proximity to doors and windows.
- Evaluate existing insulation levels.
Understanding Installation Requirements
Understanding the specific installation requirements is imperative. Our team of certified installers will inform you about the necessary pre-installation preparations, including space clearances and electrical configurations. We make sure that you are aware of each step we’ll take, which could include modifications to existing structures or updates needed to comply with local building codes.
- Discuss installation steps and space requirements.
- Review electrical setup and potential structural changes.
- Verify compliance with local regulations.
Our priority is to keep the installation process transparent, and to ensure you are well-informed about every aspect of the work we’ll perform. Trust in our expertise for a meticulous and efficient installation of your new heat pump.
The Installation Process

We understand that understanding what to expect during the heat pump installation process is crucial. We’ll ensure that each step is completed with precision.
Installing the Indoor Unit
The indoor unit, often a wall-mounted or floor-standing type, houses the evaporator coil and air handler. We begin by selecting an optimal location within your home for this unit, taking into consideration factors such as airflow and access for maintenance. We secure the unit to the wall or floor and connect it to the power supply, ensuring electrical connections are up to code. The refrigerant lines, also known as line sets, are then run from the indoor unit to the outdoor unit.
Installing the Outdoor Unit
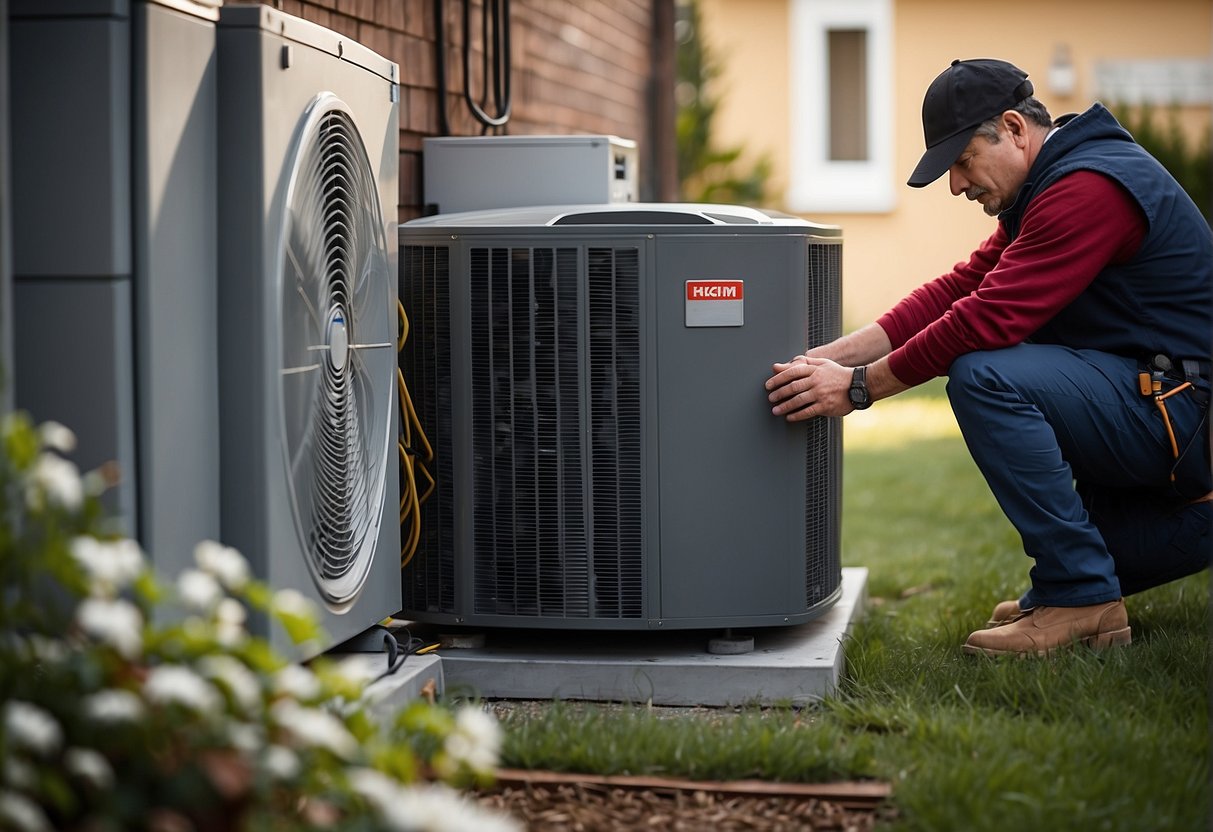
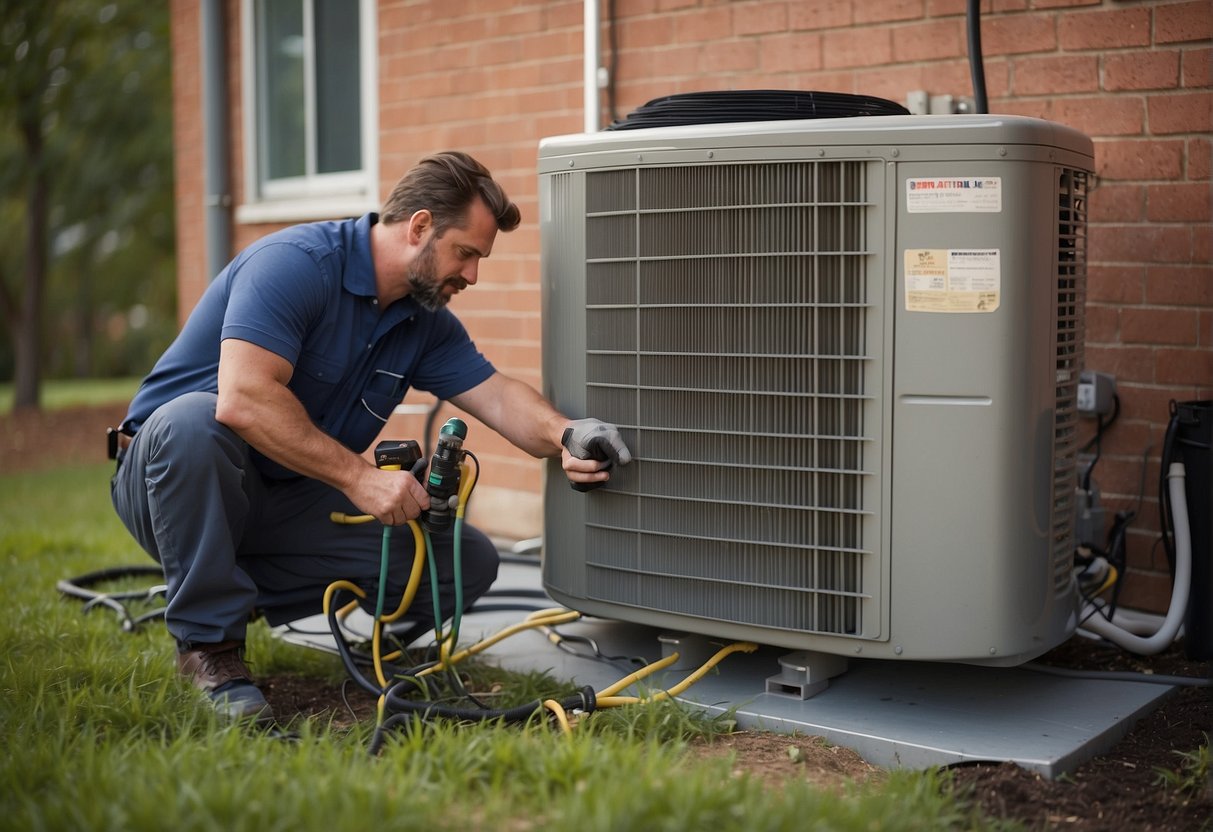
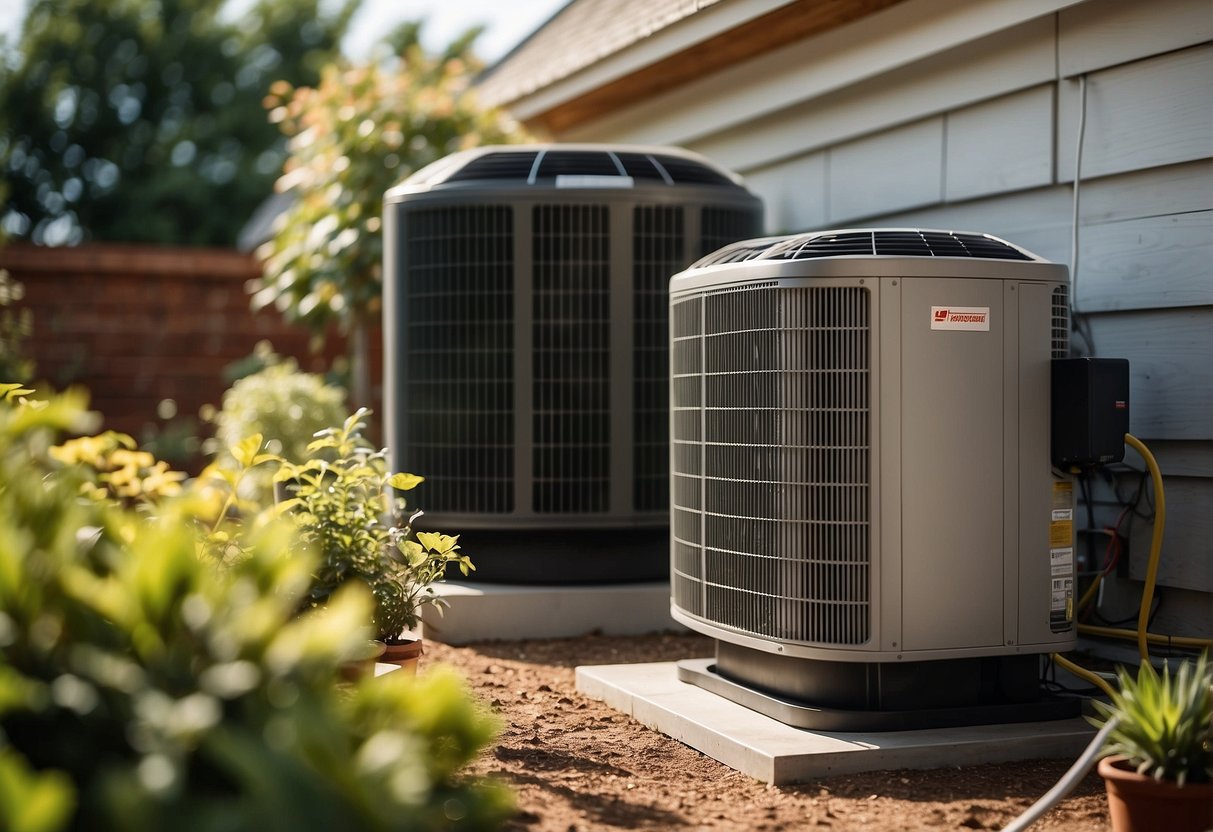
The outdoor unit contains the condenser and compressor and is pivotal for heat exchange. We’ll choose a location for the outdoor unit that is level and free from debris, with enough space for unobstructed air circulation. The unit is then mounted on a concrete pad or brackets and is properly secured. Connections between the indoor and outdoor units are made, linking the refrigerant, power, and any necessary communication cables.
Ductwork and Ductless Systems
- Ductwork Systems: If your system is ducted, we integrate it with your existing heating system. This includes the installation of supply and return ducts if not already present. We meticulously seal all joints to prevent air leakage. Part of our protocol is ensuring that the ductwork is properly sized for optimal efficiency.
- Ductless Systems: For ductless, or mini-split systems, we focus on ensuring that the indoor units are placed for ideal air distribution. Since there are no ducts, installation is less invasive and often faster. However, it’s vital that the refrigerant line sets are installed correctly and are well-insulated.
By following these specific steps, we help ensure your heat pump installation is smooth and efficient, enhancing the comfort and air quality of your home.
Economic and Environmental Considerations

When discussing the installation of heat pumps, we must consider both economic and environmental factors. These affect overall cost-effectiveness and our ecological footprint.
Costs and Incentives
Initial heat pump installation cost can vary widely, but we frequently see figures between $3,000 and $8,000. Factors influencing the price include the heat pump’s model, its Seasonal Energy Efficiency Ratio (SEER), and Heating Season Performance Factor (HSPF). Higher SEER and HSPF ratings tend to raise upfront costs but offer greater energy savings over time. To encourage adoption, the Inflation Reduction Act provides tax credits and rebates. Homeowners can also seek local incentives to reduce out-of-pocket expenses.
- Tax Credits: Eligible for up to $2,000
- Prerequisite: Must meet specific SEER and HSPF criteria
- Rebates: Vary by region, with some covering up to 50% of the cost
- Aimed at: Making energy-efficient choices more accessible
Environmental Impact
Heat pumps are celebrated for their environmental benefits due to efficient energy use and potential to lower carbon emissions. By transfering heat rather than generating it, heat pumps reduce our reliance on fossil fuels. Here’s how they contribute to environmental conservation:
- Energy Consumption: High-efficiency heat pumps can save up to 40-60% on energy costs when replacing traditional heating systems.
- Emissions: Use of renewable electricity sources with heat pumps can further reduce or even neutralize greenhouse gas emissions.
Post-Installation: Operation and Maintenance
Once your heat pump is installed, ensuring it operates effectively and is maintained properly will provide you with comfort and reliability for years to come. Let’s explore how to achieve optimum performance and upkeep.
Getting the Best from Your Heat Pump
To maximize efficiency, we must first ensure our homes are well insulated and air-sealed. This step reduces the load on the heat pump, maintaining a consistent temperature and enhancing comfort. It’s vital to set the thermostat to a steady temperature to prevent unnecessary strain on the system.
Best Practices:
- Thermostat: Keep it set at a constant temperature for optimal performance.
- Air Sealing: Improve insulation and seal leaks to enhance comfort and efficiency.
Regular Maintenance and Troubleshooting
Proper maintenance ensures safety and extends the life of your heat pump. We recommend scheduling an annual inspection and cleanup with a reputable HVAC contractor. During maintenance, they’ll check refrigerant levels, clean coils, and replace filters to keep the system running smoothly.
Troubleshooting Tips:
- If you notice a decline in performance, first check and clean the filters.
- Listen for unusual noises, which may indicate a need for a professional inspection.
- In cold weather, the defrost cycle is normal; however, if it occurs frequently, call an HVAC professional.
Routine Maintenance Checklist:
- Inspection: Conduct a thorough check-up annually.
- Filters: Clean or replace them every 1-3 months.
- Coils and Fans: Keep them dust-free and unobstructed.
- Backup Heat: Test any backup heat systems, such as a furnace, to confirm they are functioning correctly.
Regular maintenance and addressing issues promptly will help avert costly repairs and ensure the longevity of your heat pump.

